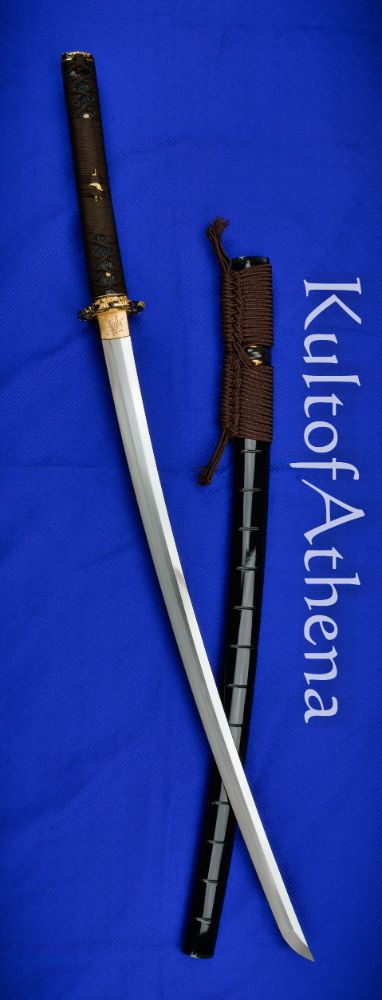
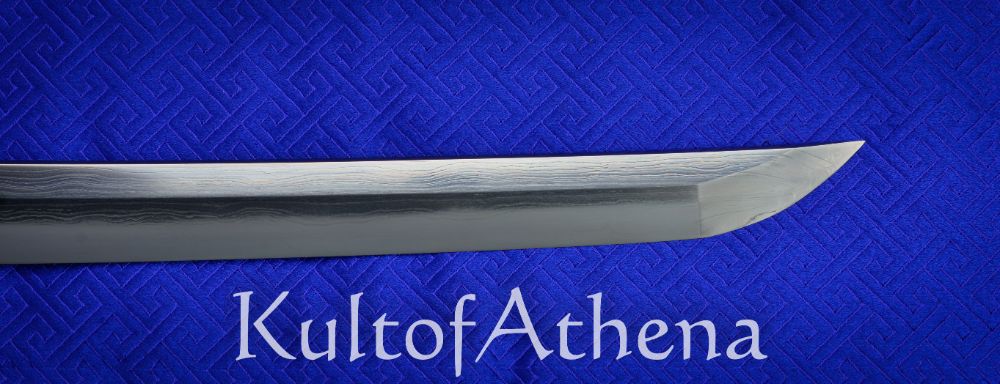
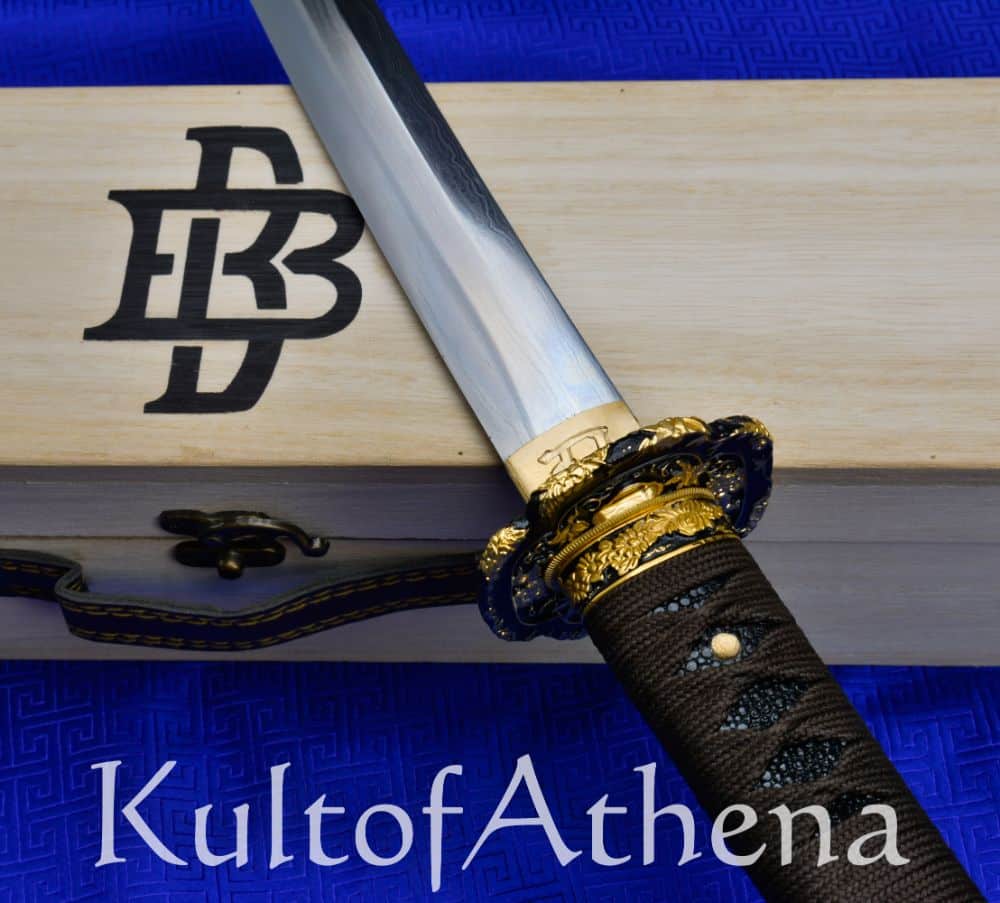
The BattleBlades Sōdai Tamahagane Katana is in itself an exemplary showcase of the traditional Japanese swordsmithing arts with no corners cut on producing a Katana in a the heirloom manner. The highlight of the sword is its fine quality Tamahagane blade made in the time-honored way of smelting iron sands in a kiln to create Tamahagane “jewel steel” pieces which are then used as the foundation for the blade. These pieces were then forge-welded together by a highly skilled bladesmith to create a Honsanmai laminated blade billet which has a softer core of Tamahagane steel jacketed in a core of harder steel Tamahagane. In addition to this the blade was clay tempered to possess a genuine hamon and then painstakingly polished with a variety of polishing stones to highlight the beauty of the Tamahagane steel. Not only is the hamon edge bright and vibrant, but the layered steel is also evident, as are the traditional lamination lines and even the Nie crystallization in the Hada grain patterning. The amount of skilled craftsmanship that has gone into the production of this blade is as impressive as it is laborious and we encourage you to look at the end of this product description for a more thorough description of the whole process.
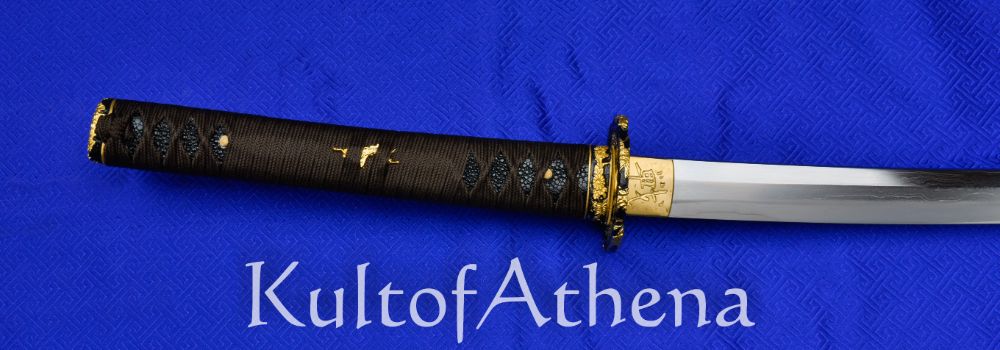
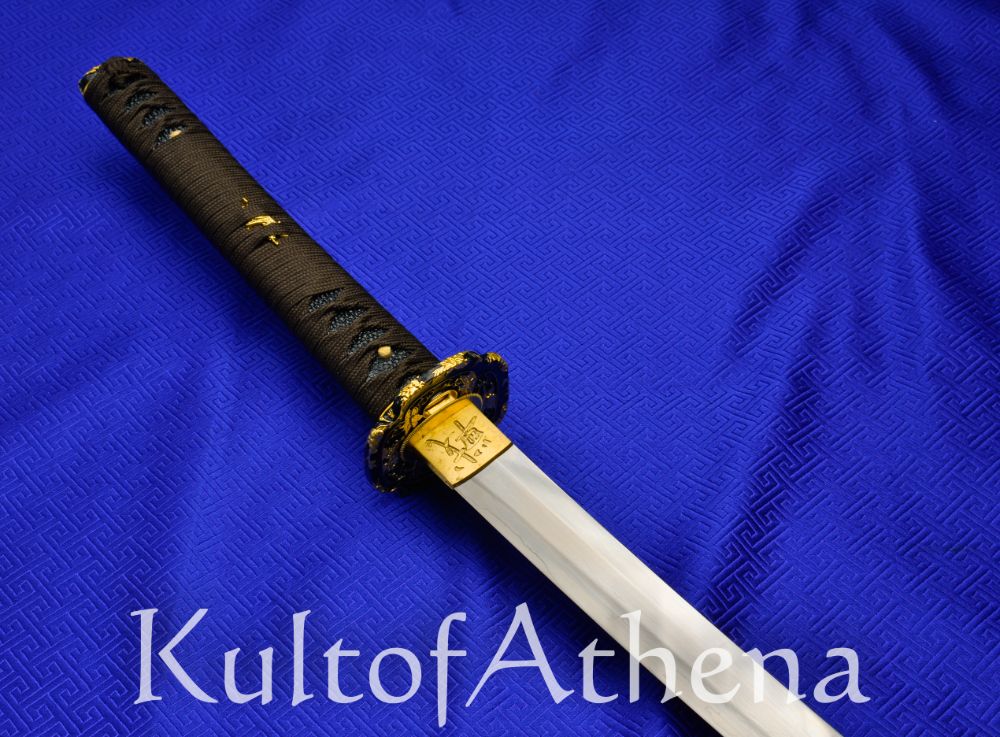
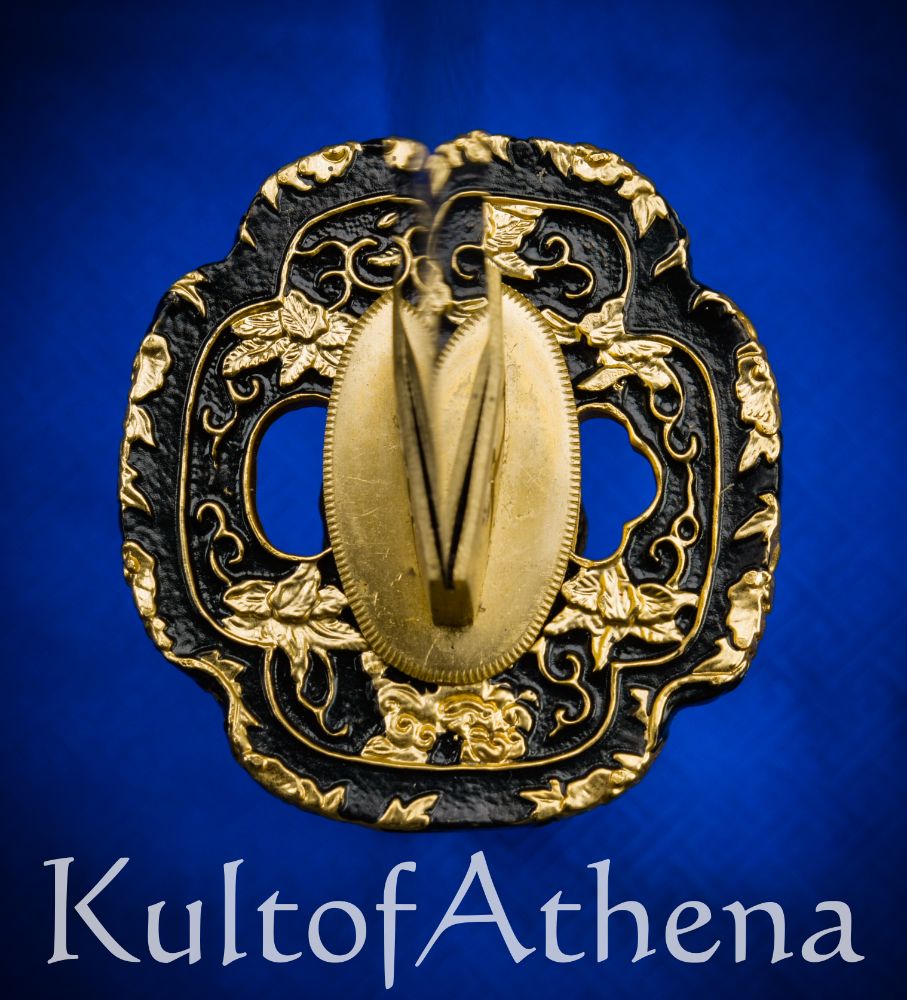
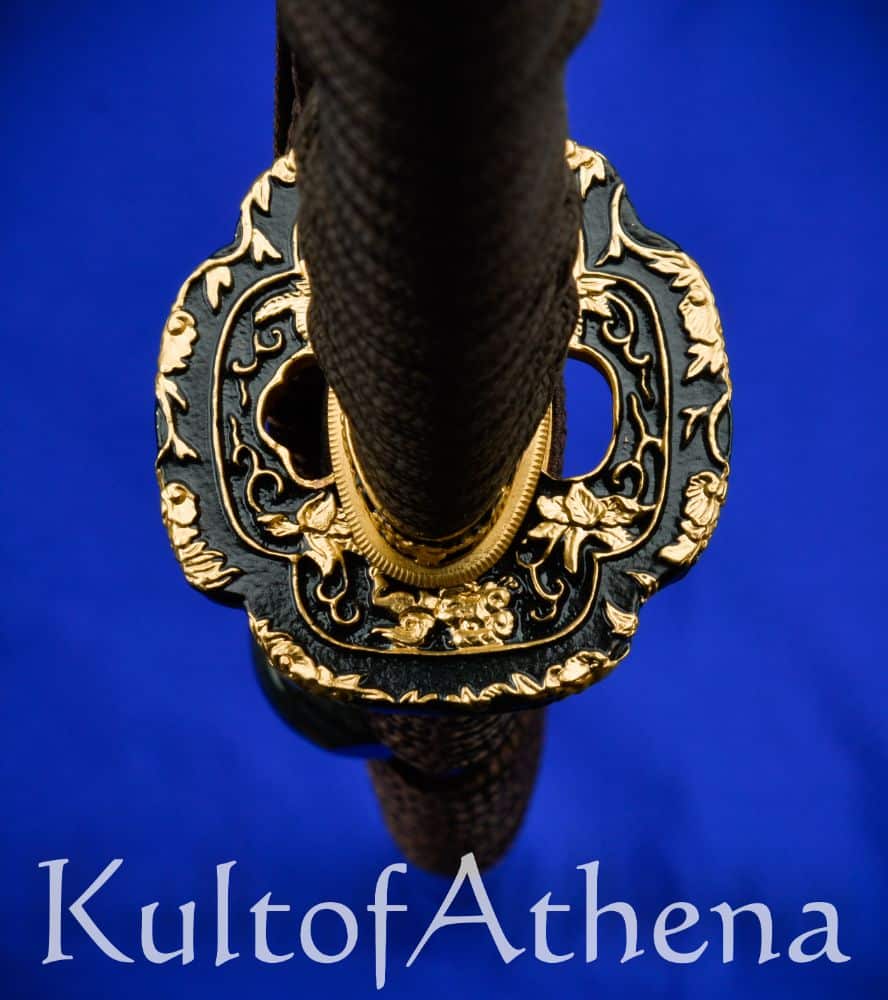
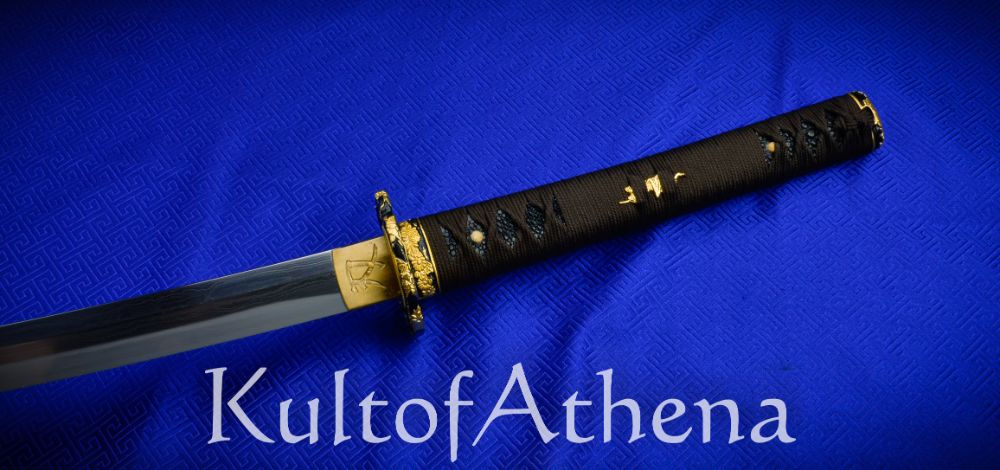
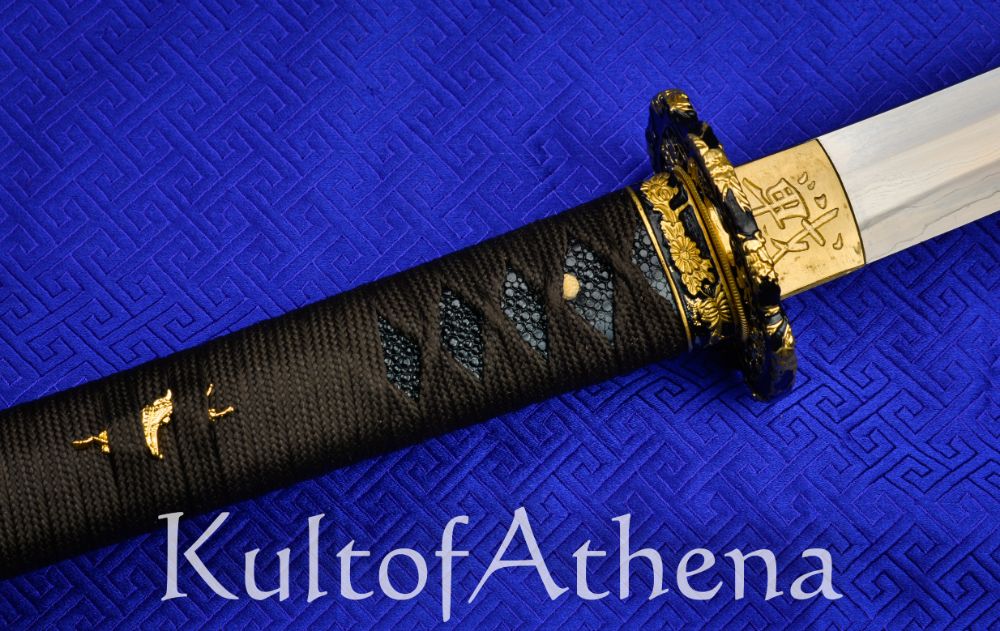
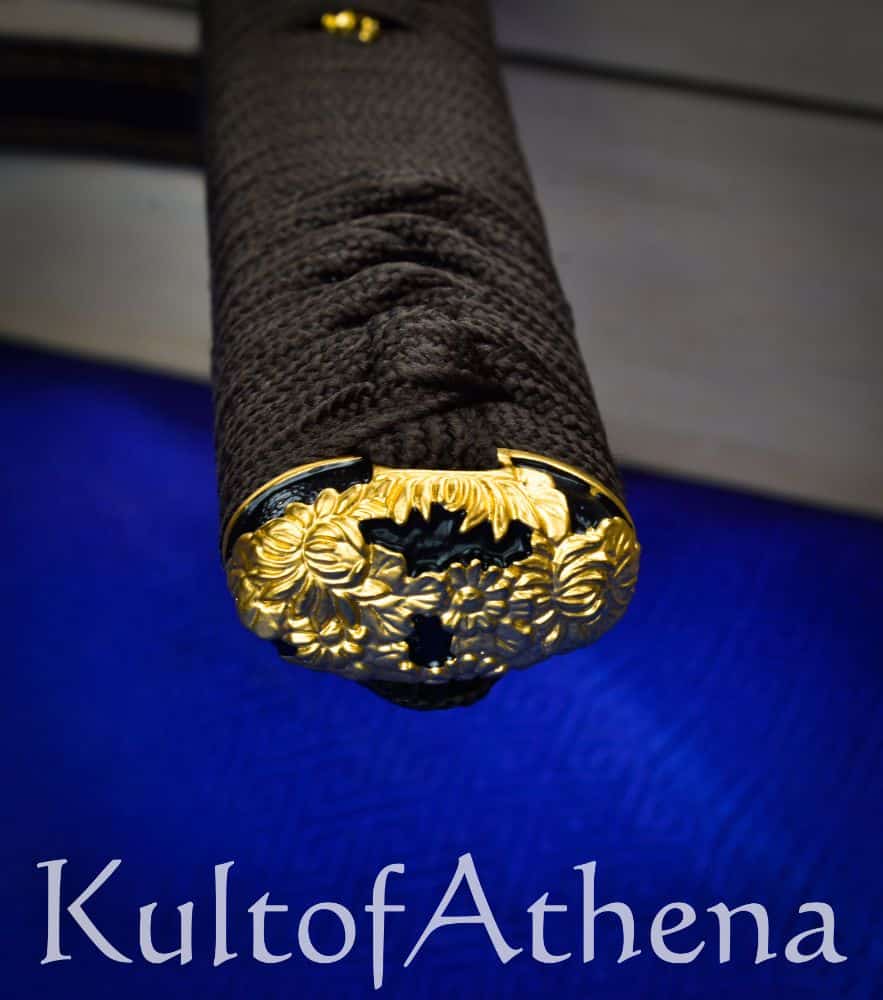
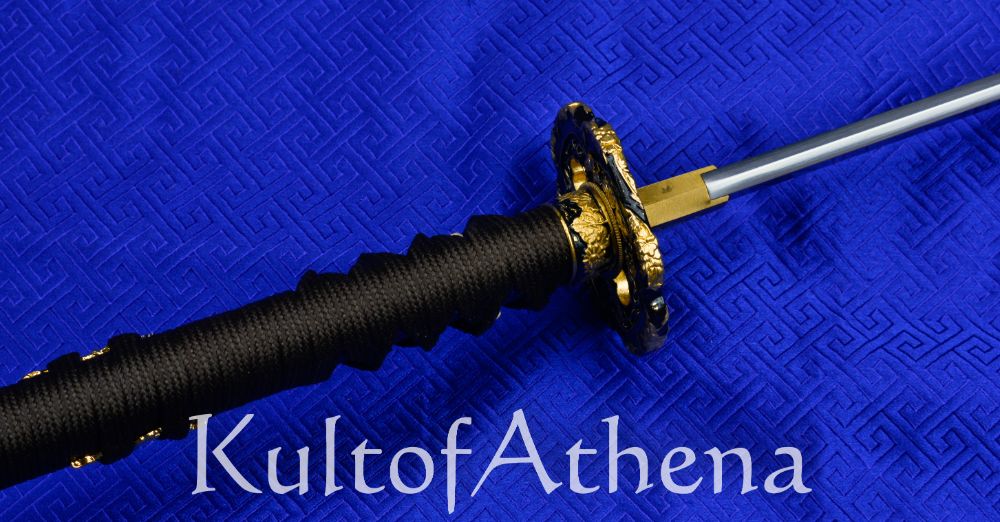
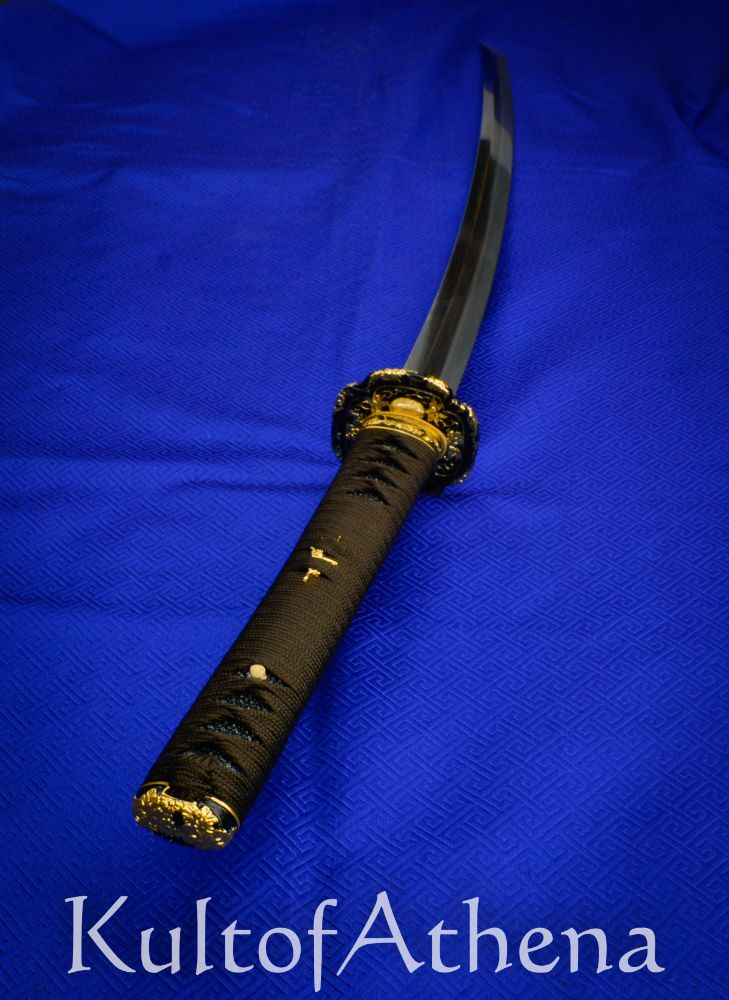
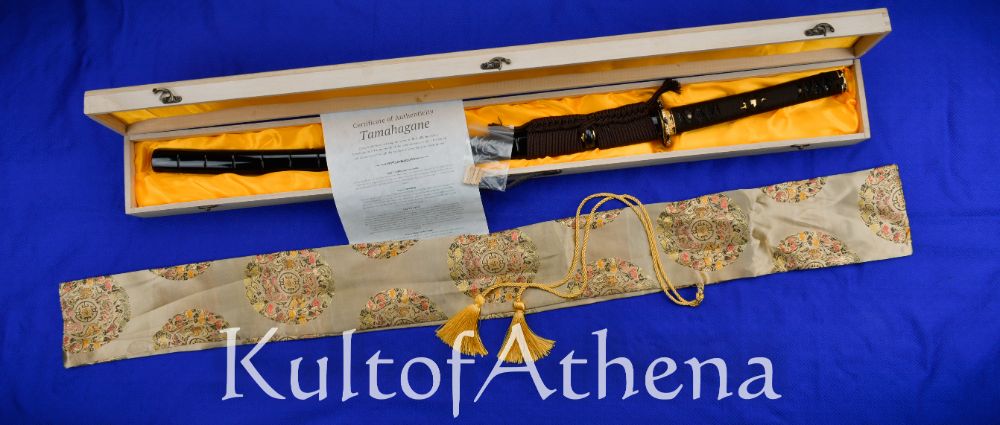
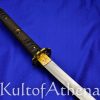
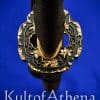
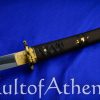
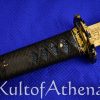
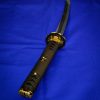
The blade is both tempered and well-sharpened and it is mounted into an exquisite quality Koshirae hilt mounting. The high quality blackened copper tsuba, fuchi and kashira fittings are all plated in elaborate 24K gold detailing and the brass habaki features hand-carved kanji on both sides. The hardwood tsuka grip has black-lacquered genuine rayskin which is tightly overlaid in premium grade brown silk Ito cord in a katate-maki style grip wrap complete with gold-plated menuki.
The handcrafted saya scabbard is made with a hardwood core overlaid with thick layers of glossy black lacquer. To match the quality of the sword, the sageo cord is made from an extra-long premium grade silk sageo cord and the scabbard is complete with fittings of smoothly polished buffalo horn. The sword and scabbard come with a premium silk sword bag, a well-carved branded wooden box, extra mekugi bamboo pins and a signed manufacturers production certificate.
Like the Japanese swords of many vendors – it is common for the lacquer finish on the scabbard to have some visible scuffs, scratches and other minor cosmetic blemishes visible when examined closely.
The Creation of the Tamahagane Blade:
Step 1 – Collecting Iron Sand: As springs flow from the iron mines down the Longquan Mountains they bring iron sand into the Ou River. After digging silt from the river, the mud and sand are washed away, leaving behind pure iron sand. Over 100 kilos of silt needs to be washed to produce enough iron sand for one sword
Step 2 – Smelting: The iron sand is put in a clay tub furnace heated by charcoal fire. When the fire reaches the correct temperature, the iron sand is mixed with charcoal to add carbon to increase the hardness, The steel of 0.6 %- 1.5% carbon content is the higher carbon content Tamahagane. Also present are lower carbon content Tamahagane which is used for blade core steel, whilst the higher carbon content Tamahagane is used for the jacket steel on the harder exterior of the blade.
Step 3 – Forging: The swordsmith takes a look at the chunks of tamahagane that have formed in the smelting process and chooses the best ones fit for the blade. The chunks are then heated and flattened into thin sheets which are later broken into small pieces. The pieces are stacked together, heated and hammered until they form a bar. The bar is heated and hammered to double the length, then folded and hammered again. This step is repeated multiple times. The folding improves the strength, removes impurities and helps to even out the carbon content. Next the jacket steel is folded into a U-shape, in which the core steel is then inserted in a process called lamination. Once laminated, the entire sword blade billet is heated and hammered to forge weld the steels together and to lengthen them until a rough outline of the blade is formed.
Step 4 – Shaping the blade: Heating the rough blade to high temperatures as well as uniform and even hammering are essential toward producing a smooth surface and good blade shape. The blade is worked at this stage to further shape it into its proper form.
Step 5 – Rough ginding and filing: To shave off any irregularities or uneveness in the surface of the blade the swordsmith uses a two-handed drawknife along the sides of the blade. Files are used along the back and the edge of the blade, followed by a rough grinding using a coarse polish stone over the entire blade surface. At this stage the shape of a blade is well defined.
Step 6 – Tempering the sword and making the hamon: The swordsmith mixes clay and water to coat the edge of the blade with a thin layer of clay and then applies a thicker clay layer to the sides and spine of the blade. The swordsmith has some control over the pattern of the hamon by adjusting the design and application of thin clay along the edge. The blade is heated until it is red hot and plunged into water. By carefully controlling the heating and cooling speeds of different parts of the blade by using these varying thicknesses of clay, they blade will flash-harden at the edge, giving it a harder edge from crystalline-structure steel. This produces a visible line between the hard and soft steel – the hamon. The rest of the blade cools more slowly which gives it a softer, flexing body and spine to ensure it is not brittle and easily broken. During this clay tempering process the curve of the blade increases and the smith then adjusts the curve to the desired shape.
Step 7 – Rough polish: Using grinding wheels and series of polishing stones, all the lines (the shinogi ridge line, the spine and sides) are cleaned and contoured. The edge of the blade is also polished into shape and painstakingly formed into a sharpened edge.
Step 8 – Foundation polish: A series of increasingly finer grit polishing stones are used to slowly and painstakingly hand polish the blade in both its foundation and finish polish stages. The polisher works on the blade section by section and polishes the body of the blade at a different angle for each grade of stone used. With great care, the polisher can bring out the hamon edge into highlighted brilliance and brings out the texture and layering of the steel.
Step 9 – Finish Polish: In the final polishing stage, finer abrasive materials are used: wafer-thin slices cut from the main stones that are only big enough to be used by a single finger. The polisher holds the small finger stone between his thumb and the blade, moving the stone lengthwise along the blade in tiny back-and-forth motions. He polishes one section of the sword at a time, beginning at the ridgeline and moving down to the edge, working from the tang towards the tip. This “Hazuya” stone polish removes all the marks left in the foundation polish and the blade takes on a whitish, cloudy appearance.
After Hazuya, the Jizuya stone is used in the same way, though this stone is harder and has a finer grit to further refine the blade. After Jizuya polish the blade becomes darker and clearer making the Jihada (blade grain texture) stand out. The final step in polishing the surface of the blade is an application of Nugui – an iron-oxide powder which used as a very fine abrasive. This Nugui is rubbed over the surface of the blade with a piece of cotton. With the surface darkened, the blade’s details become more visible. Hodori is used to enhance the appearance of the hamon and the final step is to add a final polish to the blade spine and sides.
Like the Japanese swords of many vendors – it is common for the lacquer finish on the scabbard to have some visible scuffs, scratches and other minor cosmetic blemishes visible when examined closely.










Attila Szajko –
It is not a nihonto, because it is a Chinese made pseudo tamahagane replica. For it’s price tag it is a very ok blade. I’ve bought it for display, and in that role it is very fine, my friends think it is a “Samurai” sword….I’ll never ever give in their hands my true nihontos’, not even showed them:)))). 3 star because its tsuka and tsuba is not at all quality. Nagasa is ok. Perfect for decoration, no more.